Problem / Outcome Summary
- This how to guide will show you how to install PlexPy on Ubuntu Linux so you can monitor Plex usage in your household
This guide applies to:
- Ubuntu Linux
Why might I want to do this?
- Because you want to monitor who is watching your Plex Library and when
- Because you want to understand what types of devices are being used
- Because you want to track down which players are causing transcoding to occur
- Because you want to know what is most popular in your library
- Because you want to know what media is synced to where and to whom
- And many other features
Foreword
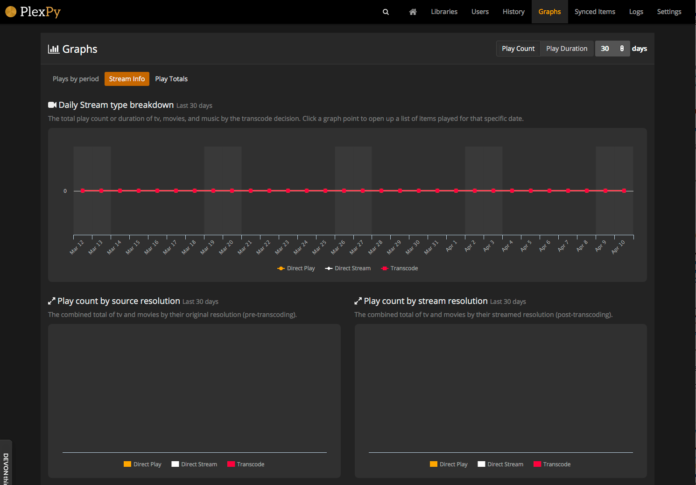
PlexPy is a monitoring system written in python and designed specifically for Plex. It is an add-on which is unsupported by Plex, however the developer is now a Plex developer, so it is assumed at some point some of these features will make it into the main Plex application. PlexPy comes with a host of monitoring features, which include:
- Works on desktop, tablet and mobile web browsers
- Themed to complement Plex/Web
- Easy setup
- Monitoring of current Plex Media Server activity
- Fully customisable notifications for stream activity and recently added media
- Top statistics on home page with configurable duration and measurement metric
- Global watching history with search/filtering & dynamic column sorting
- Full user list with general information and comparison stats
- Individual user information including devices IP addresses
- Complete library statistics and media file information
- Rich analytics presented using Highcharts graphing
- Beautiful content information pages
- Full sync list data on all users syncing items from your library
The product home page is at: https://github.com/drzoidberg33/plexpy and for a list of screenshots, simply google plexpy in the image search e.g. here. You will see it is quite extensive.[/vc_column_text]
Html code here! Replace this with any non empty text and that's it.
Pre-Requisites
Software Dependencies
- Ubuntu Linux
- Plex Media Server
Hardware Dependencies
- None
Tools Required
- SSH if you have a headless based Linux system such as a NAS or other Linux system
Other Dependencies
- A working Internet connection
High Level Summary Steps
The below lists the high level summary of steps we’re about to take during this howto.
- Install software pre-requisites
- Install PlexPy
- Configure PlexPy
- Set PlexPy to automatically start at boot
Implementation
Install software pre-requisites
ssh into your Ubuntu Server or start up a local console
$ sudo apt-get install git-core
Install PlexPy
$ cd /opt
$ sudo git clone https://github.com/drzoidberg33/plexpy.git
$ cd plexpy
$ sudo python PlexPy.py
At this point, it appears as though you’re at a text installation screen and a username / password is required. Actually, that comes next. First just press ‘:’ and ‘q’ to get out and a temporary web server will be set up for you.
Configure PlexPy
Open your favourite web browser and enter in the IP Address of the server you installed PlexPy on with the 8181 as the port. e.g. 192.168.1.10:8181
You will get a PlexPy configuration screen
Click
Enter your normal Plex account username & password
Choose your Plex server from the drop down list or enter in it’s IP address
Tick on ‘Use SSL’
Leave the next few options enabled as default
Leave the notification disabled by default
You’ll receive a message that PlexPy is waiting 5 seconds to ensure authentication token is registered. This too more than 5 seconds for me. After this, you should then have the full PlexPy running in your web browser.
Set PlexPy to automatically start at boot
$ sudo adduser –system –no-create-home plexpy
$ sudo chown plexpy:nogroup -R /opt/plexpy
$ sudo ln -s /opt/plexpy/init-scripts/init.ubuntu /etc/init.d/plexpy
$ sudo update-rc.d plexpy defaults
Then start your plexpy service
$ sudo service plexpy start
Final Word
You should now have a completely installed, automatically starting, PlexPy monitoring service. All you need to do is sit back and wait for the stats to start coming in!
If you have any issues or questions, please ask in the comments below.
Marshalleq

